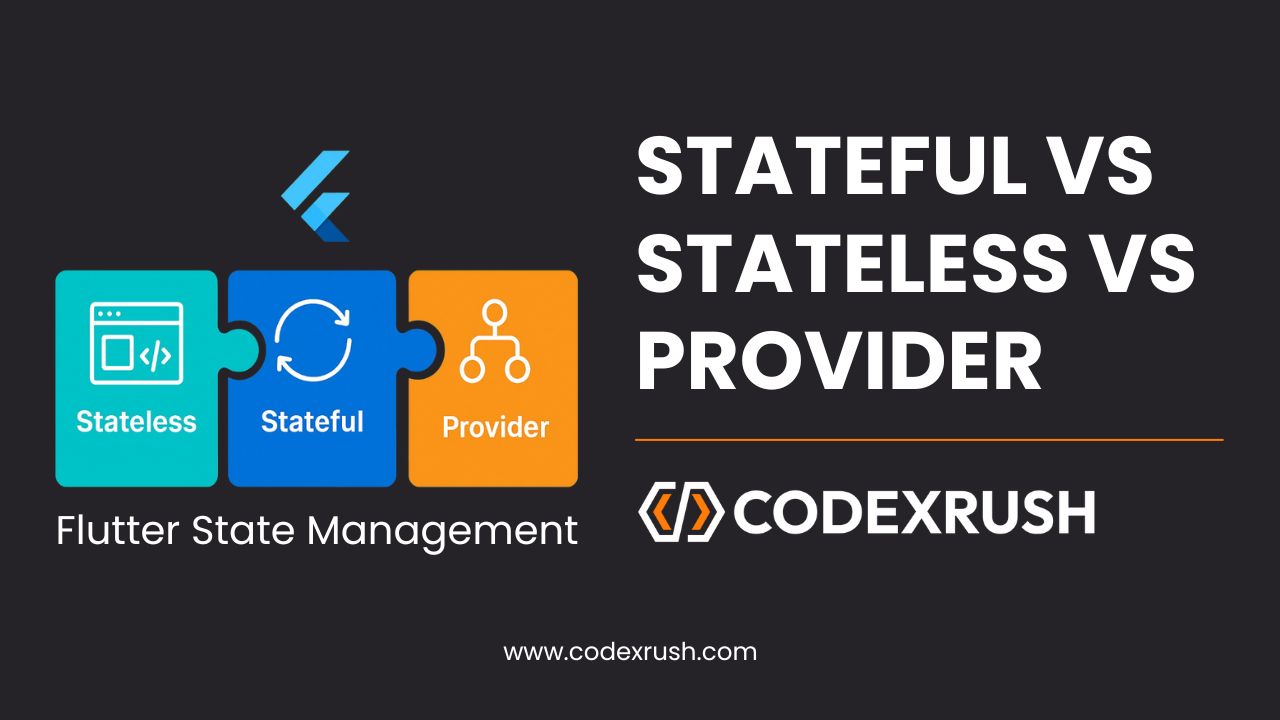
Complete Guide to Flutter State Management
State management is one of the most confusing yet critical concepts in Flutter development. Beginners often struggle with when to use a StatefulWidget, when a StatelessWidget is enough, and when to introduce external solutions like Provider. In this comprehensive SEO-friendly tutorial, we’ll break down each type of state management in Flutter, their differences, pros and cons, and best practices in 2025.
What is State in Flutter?
In simple terms, state refers to any data that can change in your app—user inputs, UI interactions, animations, network data, and more. Flutter rebuilds widgets whenever their state changes. Hence, handling state properly is essential for performance, user experience, and maintainability.
There are three core ways to manage state in Flutter:
StatelessWidget
StatefulWidget
External State Management (e.g., Provider)
Let’s explore each in detail.
1. StatelessWidget — When the UI Never Changes
Best for:
Static screens (e.g., splash screen, terms and conditions)
UI elements that don’t update after build
Common Use Cases:
Static headers
Read-only buttons
Decorative containers
Example:
					class WelcomeMessage extends StatelessWidget {
  @override
  Widget build(BuildContext context) {
    return Text('Welcome to CodeXRush!');
  }
}
Limitations:
Cannot update the UI dynamically
No local variable or interaction storage
Performance:
Lightweight and fast
2. StatefulWidget — Local State Management
Best for:
Managing temporary states
Handling UI interactions like taps, form inputs, toggles
Common Use Cases:
Checkbox, Switch, Radio buttons
TextField validation
Counters
Example:
					class CounterWidget extends StatefulWidget {
  @override
  _CounterWidgetState createState() => _CounterWidgetState();
}

class _CounterWidgetState extends State<CounterWidget> {
  int _counter = 0;

  void _increment() {
    setState(() {
      _counter++;
    });
  }

  @override
  Widget build(BuildContext context) {
    return Column(
      children: [
        Text('Count: \$_counter'),
        ElevatedButton(onPressed: _increment, child: Text('Increment')),
      ],
    );
  }
}
Limitations:
Not scalable for large applications
Leads to spaghetti code if used for shared state
Performance:
Good for local changes, but avoid nesting too many StatefulWidgets
3. Provider — Scalable Global State Management
Best for:
Managing shared/global state
Medium to large-scale applications
Common Use Cases:
Theme or Locale settings
Auth state (login/logout)
Shopping cart data
API data sharing between screens
Example:
					class Counter with ChangeNotifier {
  int _count = 0;

  int get count => _count;

  void increment() {
    _count++;
    notifyListeners();
  }
}

// In main.dart
void main() {
  runApp(
    ChangeNotifierProvider(
      create: (_) => Counter(),
      child: MyApp(),
    ),
  );
}

// In your widget
Consumer<Counter>(
  builder: (context, counter, _) => Column(
    children: [
      Text('Count: \${counter.count}'),
      ElevatedButton(onPressed: counter.increment, child: Text('Add')),
    ],
  ),
);
Limitations:
Learning curve for beginners
Overkill for small, single-use state
Performance:
Extremely efficient if used with Selector and Consumer
StatelessWidget vs StatefulWidget vs Provider — Key Differences
| Feature | StatelessWidget | StatefulWidget | Provider (ChangeNotifier) |
|---|---|---|---|
| Rebuilds on Change? | ❌ No | ✅ Yes | ✅ Yes |
| Stores State? | ❌ No | ✅ Local | ✅ Global/Shared |
| Best For | Static UI | UI with local logic | Scalable/shared logic |
| UI Separation | ✅ Easy | ⚠️ Medium | ✅ Excellent (MVVM/clean arch) |
| Performance | ✅ Fast | ⚠️ Good | ✅ Excellent with optimization |
| Code Maintainability | ✅ Easy | ⚠️ Moderate | ✅ Highly maintainable |
Best Practices for Flutter State Management in 2025
- Use StatelessWidget for static UI:
If your UI doesn’t change, go with StatelessWidget. It’s the cleanest and most efficient choice. - Use StatefulWidget for local changes:
Keep temporary interaction logic like toggles, form inputs, or local UI effects within StatefulWidget. - Use Provider for shared/business logic:
If the same state needs to be accessed from multiple widgets or screens, Provider or Riverpod is the way to go. - Keep logic out of UI:
Separate business logic from the UI. Use controllers, view models, or services to isolate responsibilities. - Avoid nesting too many StatefulWidgets:
This can create bugs and messy state management. Extract and isolate logic.
What About Other State Management Solutions?
🔄 Riverpod:
Modern and improved version of Provider. Stateless, more type-safe, and testable.
🔄 BLoC (Business Logic Component):
Highly structured, ideal for large enterprise-grade apps. Uses Streams for state.
🔄 GetX:
Fast, minimal boilerplate, all-in-one solution. Best for small teams or quick MVPs.
Choose based on your app size, team experience, and maintainability goals.
Real-World Example Scenario
Let’s say you’re building a food delivery app.
Login Screen – Use StatefulWidget for email/password handling.
Theme Mode – Use Provider for switching between dark/light themes.
Cart – Use Provider to update cart globally.
Static Footer – Use StatelessWidget.
Combining all wisely gives you clean, reactive, and testable code.
Conclusion
Understanding the difference between StatelessWidget, StatefulWidget, and Provider is essential for every Flutter developer. Each serves its unique purpose:
Use StatelessWidget for UI that never changes
Use StatefulWidget for temporary, interactive changes
Use Provider for shared/global business logic
As your project scales, adopting the right approach saves you time, improves performance, and enhances maintainability.
Start small, grow wisely, and always refactor toward a cleaner architecture. Happy coding! 🚀