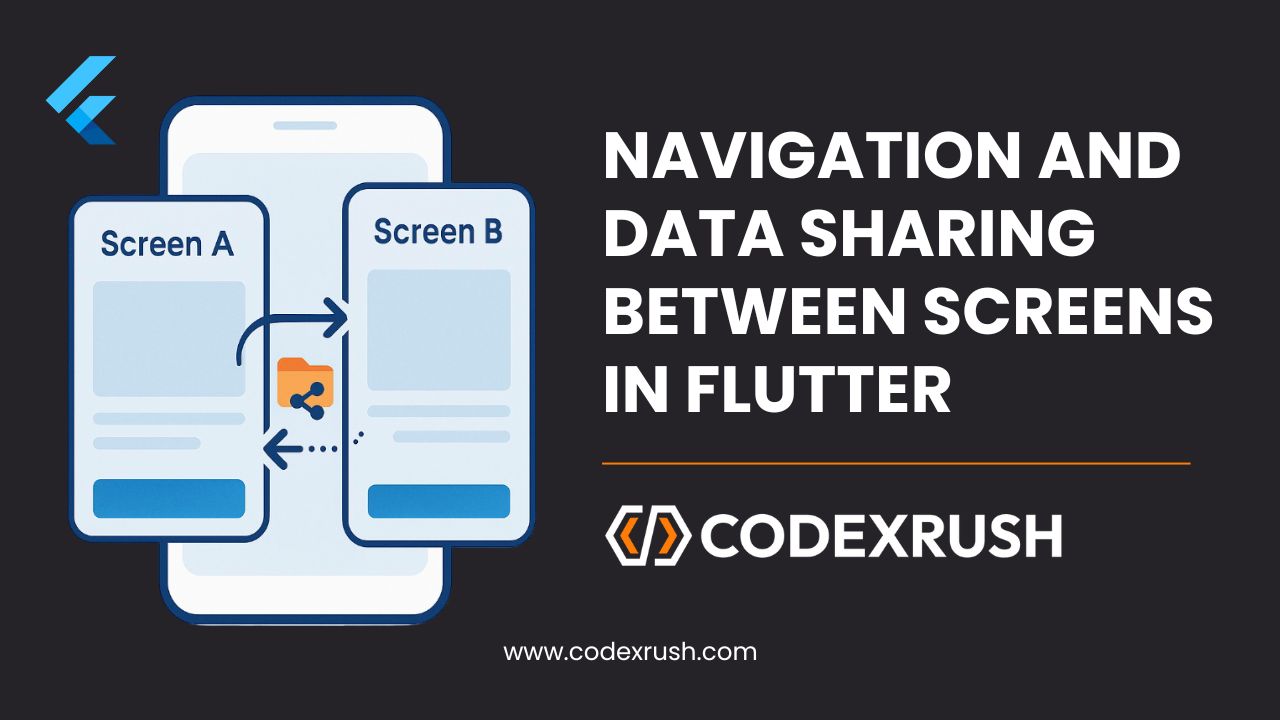
Navigation is a fundamental part of any mobile application. In Flutter, managing routes and sharing data between screens can be elegantly handled through various methods. In this comprehensive SEO-friendly tutorial, you will learn everything you need to implement smooth navigation and data sharing in your Flutter apps. We’ll also cover best practices for beginners and experienced developers alike.
1. What is Navigation in Flutter?
Navigation in Flutter refers to the mechanism that allows users to move from one screen (widget) to another. In Flutter, screens are called widgets, and navigation is managed by the Navigator widget and its stack-based architecture.
Flutter uses a stack to manage screen transitions. Each new screen is pushed onto the stack, and pressing the back button pops it off, revealing the previous screen.
2. Why Navigation is Important
- Multi-screen apps: Most apps need more than one screen.
- User flow: Navigation defines the journey of the user through the app.
- Data transfer: Often, you need to send and receive data between screens.
3. Types of Navigation in Flutter
Flutter supports multiple types of navigation:
a. Imperative Navigation (Navigator.push/pop)
- The classic and simple way to push and pop screens manually.
b. Declarative Navigation (Navigator 2.0)
- More complex and used in large apps with deep linking and custom route parsing.
c. Using Packages like go_router, auto_route
- Modern packages that simplify route handling and state management with declarative style.
In this guide, we’ll focus on the most commonly used: Navigator 1.0 (imperative approach) and named routes.
4. Using Navigator Class
The simplest way to navigate is to use Navigator.push and Navigator.pop.
🔹 Push to a New Screen
					Navigator.push(
  context,
  MaterialPageRoute(builder: (context) => SecondScreen()),
);
🔹 Pop Back to Previous Screen
Navigator.pop(context);
🔹 Full Example:
					// main.dart
import 'package:flutter/material.dart';

void main() => runApp(MyApp());

class MyApp extends StatelessWidget {
  @override
  Widget build(BuildContext context) {
    return MaterialApp(
      home: FirstScreen(),
    );
  }
}

class FirstScreen extends StatelessWidget {
  @override
  Widget build(BuildContext context) {
    return Scaffold(
      appBar: AppBar(title: Text("First Screen")),
      body: Center(
        child: ElevatedButton(
          child: Text("Go to Second Screen"),
          onPressed: () {
            Navigator.push(
              context,
              MaterialPageRoute(builder: (context) => SecondScreen()),
            );
          },
        ),
      ),
    );
  }
}

class SecondScreen extends StatelessWidget {
  @override
  Widget build(BuildContext context) {
    return Scaffold(
      appBar: AppBar(title: Text("Second Screen")),
      body: Center(
        child: ElevatedButton(
          child: Text("Back"),
          onPressed: () {
            Navigator.pop(context);
          },
        ),
      ),
    );
  }
}
5. Named Routes in Flutter
Named routes help separate the route logic from your widgets, making it easier to manage and scale.
🔹 Define Routes in MaterialApp
					MaterialApp(
  initialRoute: '/',
  routes: {
    '/': (context) => HomePage(),
    '/details': (context) => DetailsPage(),
  },
);
🔹Navigate Using Named Route
Navigator.pushNamed(context, '/details');
6. Passing Data Between Screens
Passing data is essential when your second screen needs to display content based on the first screen.
🔹 Pass Data via Constructor
					Navigator.push(
  context,
  MaterialPageRoute(
    builder: (context) => SecondScreen(data: 'Hello'),
  ),
);

class SecondScreen extends StatelessWidget {
  final String data;
  SecondScreen({required this.data});

  @override
  Widget build(BuildContext context) {
    return Scaffold(
      body: Center(child: Text(data)),
    );
  }
}
7. Returning Data to Previous Screen
You can return a result back to the previous screen using Navigator.pop().
🔹 Second Screen
Navigator.pop(context, 'Returned Data');
🔹 First Screen
					final result = await Navigator.push(
  context,
  MaterialPageRoute(builder: (context) => SecondScreen()),
);
print(result);
8. Best Practices for Navigation in Flutter
Use named routes for medium/large projects.
Separate route configuration using a route generator.
Use parameter models when passing complex data.
Prefer declarative libraries like
go_routerin large apps.Always validate null return values from pushed screens.
Keep navigation logic separate from business logic.
9. Conclusion
Navigation is an essential concept in Flutter. You’ve learned:
What navigation is and why it’s important
How to use Navigator for push and pop
How to use named routes
How to pass and receive data between screens
By implementing these techniques, your Flutter apps will not only function better but will also scale well as they grow. By following these Flutter navigation best practices, your app will be scalable, readable, and easier to maintain. Bookmark this guide and refer back anytime you’re working with routes or data sharing in your Flutter app!


